Capturing the Beauty of the Ore Mountains
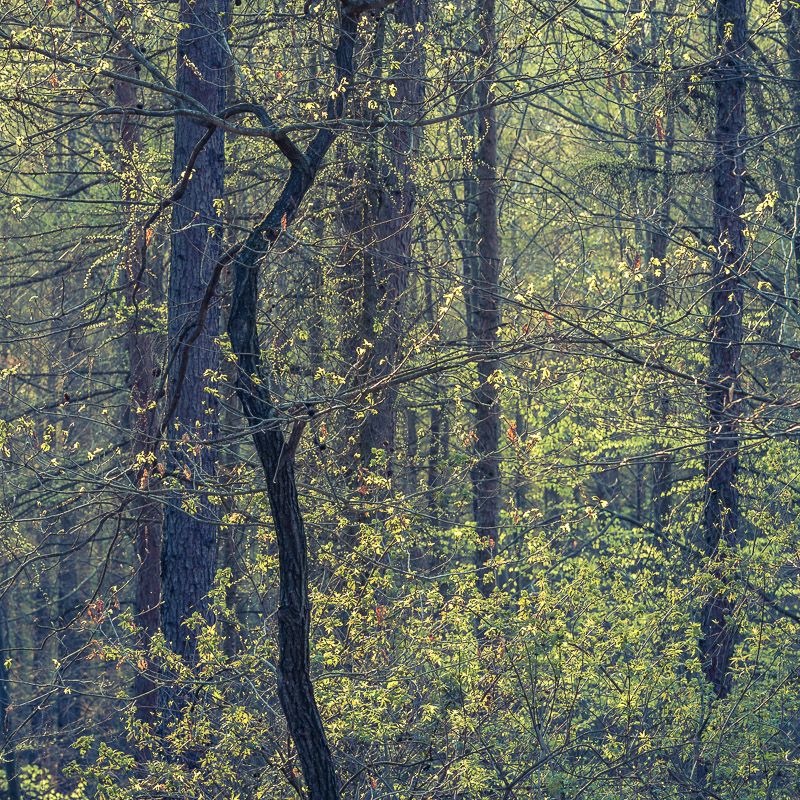
The Ore Mountains range spans 160 kilometers along the German-Czech border. They offer some of the most scintillating landscapes in Germany. The mountains themselves lie at the southern part of Saxony bordering Bohemia, and are a playground for nature photography. Roam Saxony with your camera at your side and reap the benefits as your lens captures images only found in dreams.
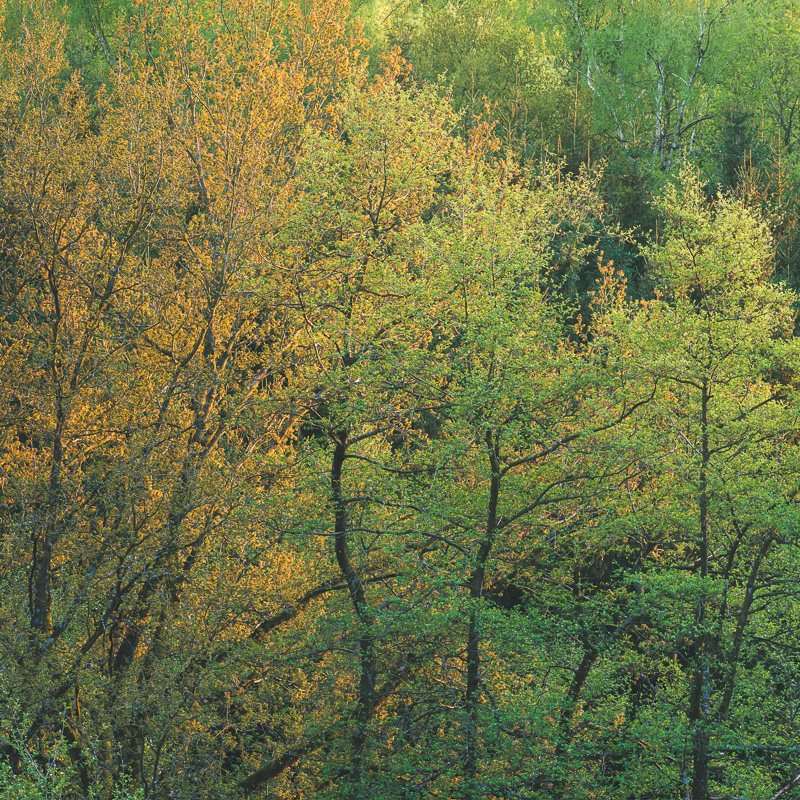
Nature photography in general requires patience: to be out in the stillness, underneath a canopy of forest in the Ore Mountains or in a wide-open meadow, and wait for the perfect conditions before you click that shutter. Scouting for that perfect vantage point, where the light hits everything just right. Only to return hours later to find that the scene has completely changed, simply because the sun is in a different position in the sky. The Ore Mountains offer an unlimited array of choices for both landscape and nature photography.
Compositional Aspects in Nature Photography
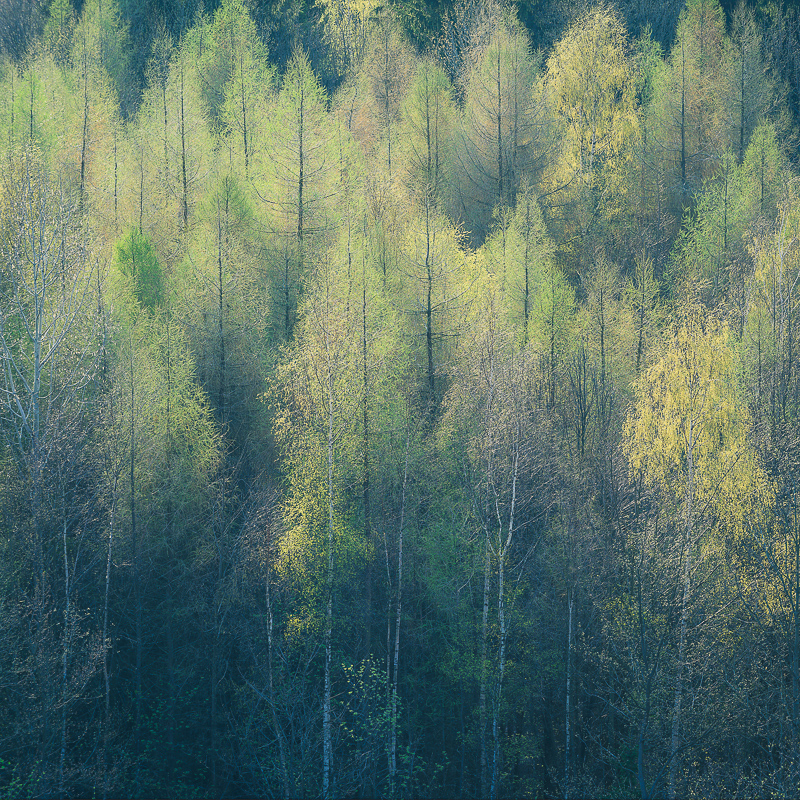
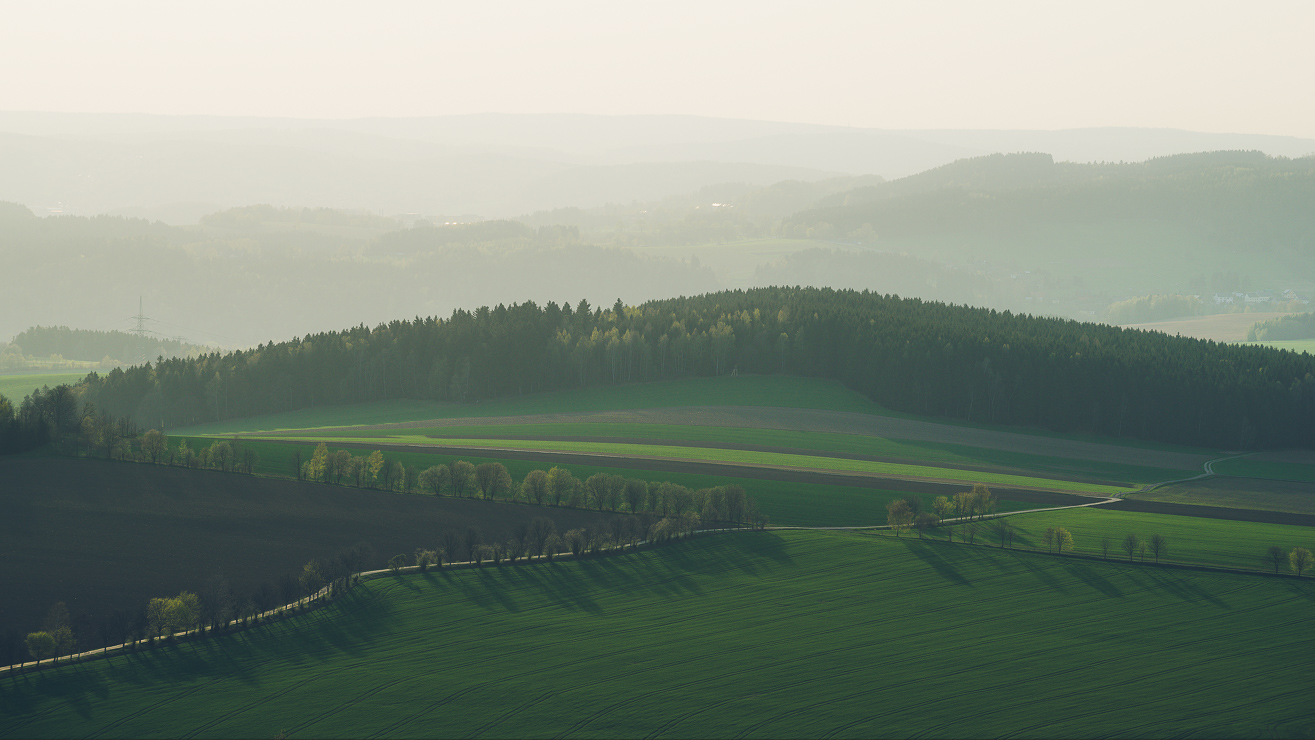
One question any photographer should ask themselves is “How am I leading the eye of my viewer?” A great example is to use lines that lead them into an image. Using lines gives the entire picture a sense of scale and depth. Or, lines can be a focal point unto themselves by creating patterns in your photo. A perfect example is using a single road far below you as it snakes into the trees in the foreground with a foggy mountain range as the background.
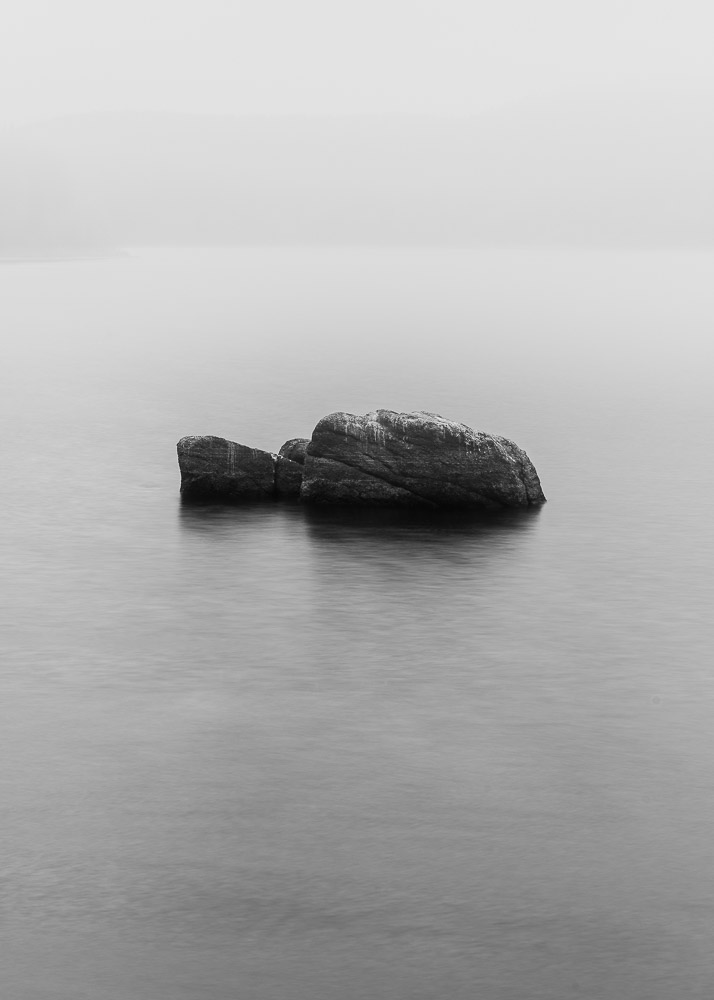
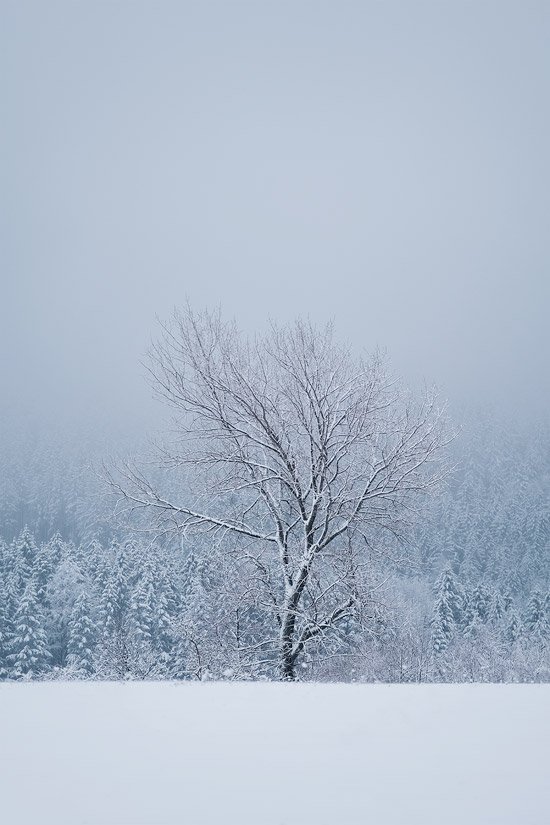
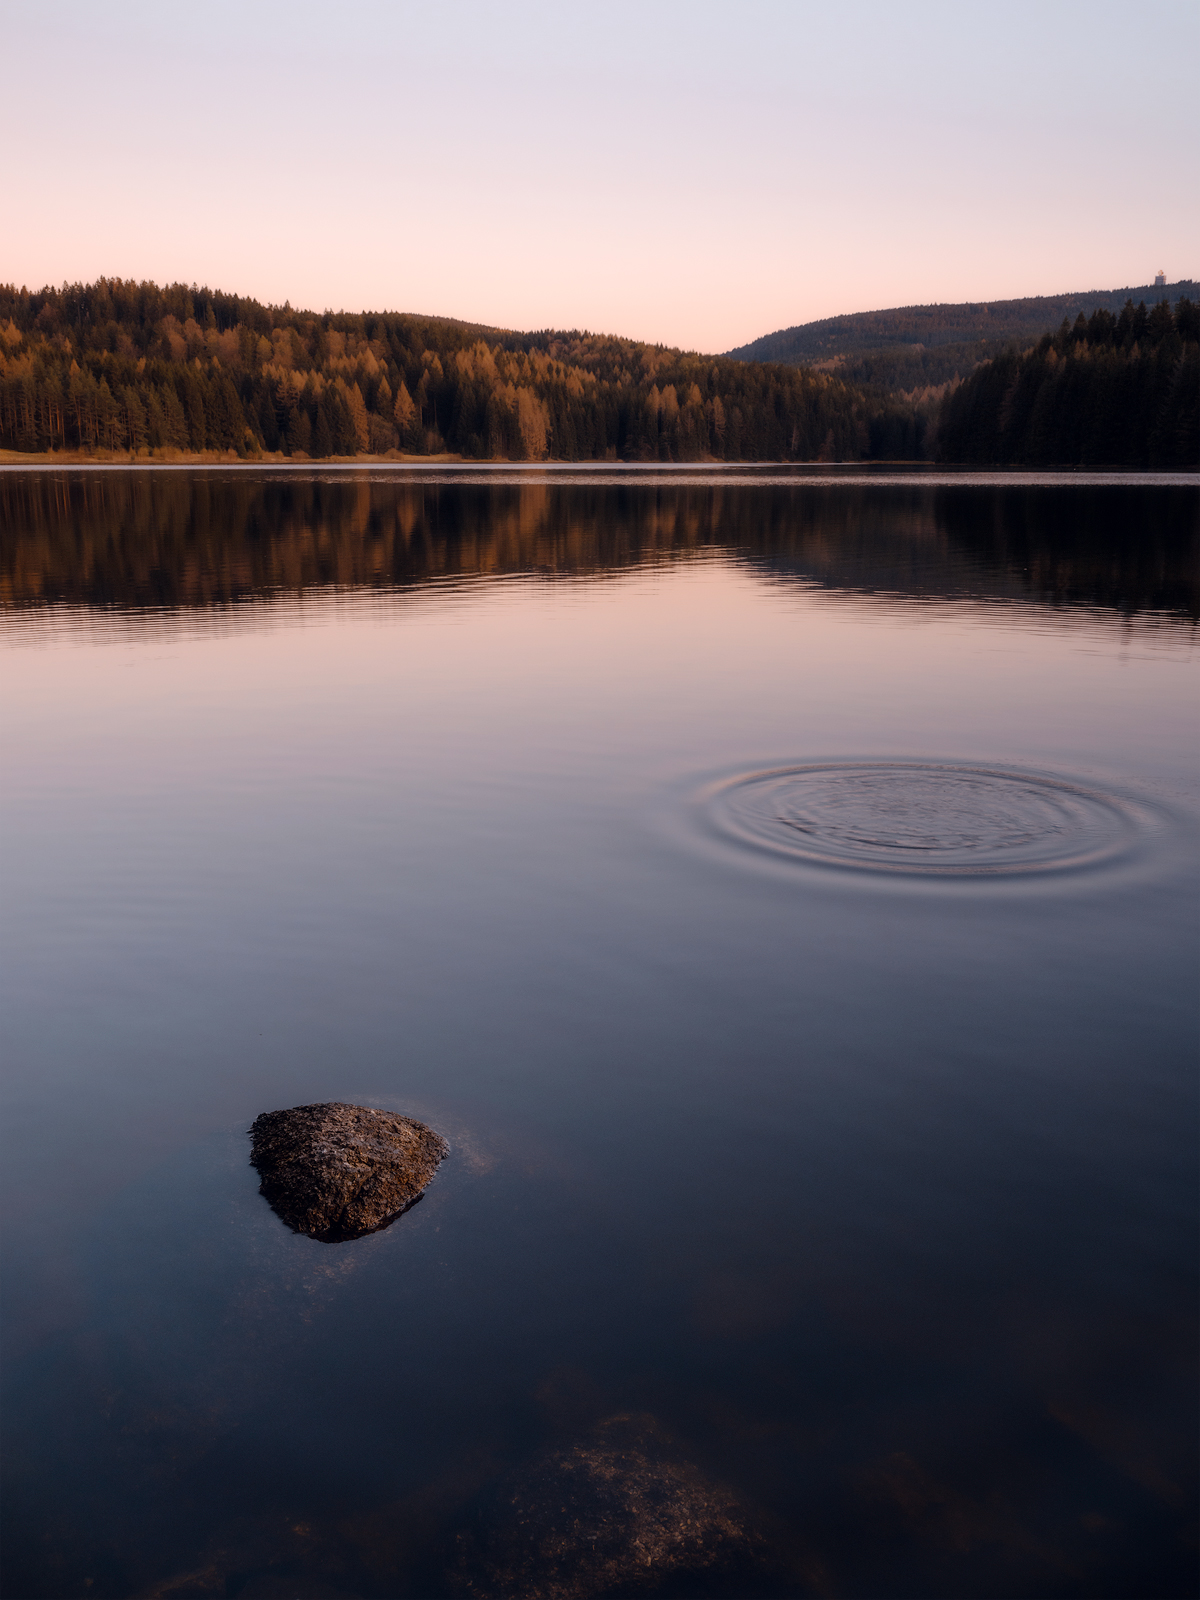
With any type of photography, identifying a focal point is important. With nature photography this is especially true. The viewer’s eye needs somewhere to rest, or you risk losing your audience entirely. When taking landscape photography this could be something as simple as a lone boulder in a still lake with fog drifting in the background. Or a clump of trees in the foreground with majestic rocky mountain as a backdrop. Or the silhouette of a big-horn sheep grazing in a meadow as the sun sets. Use the rule of thirds and don’t have your focal point be smack dab in the middle of the shot. And always remember: especially in landscape photography, less is more!
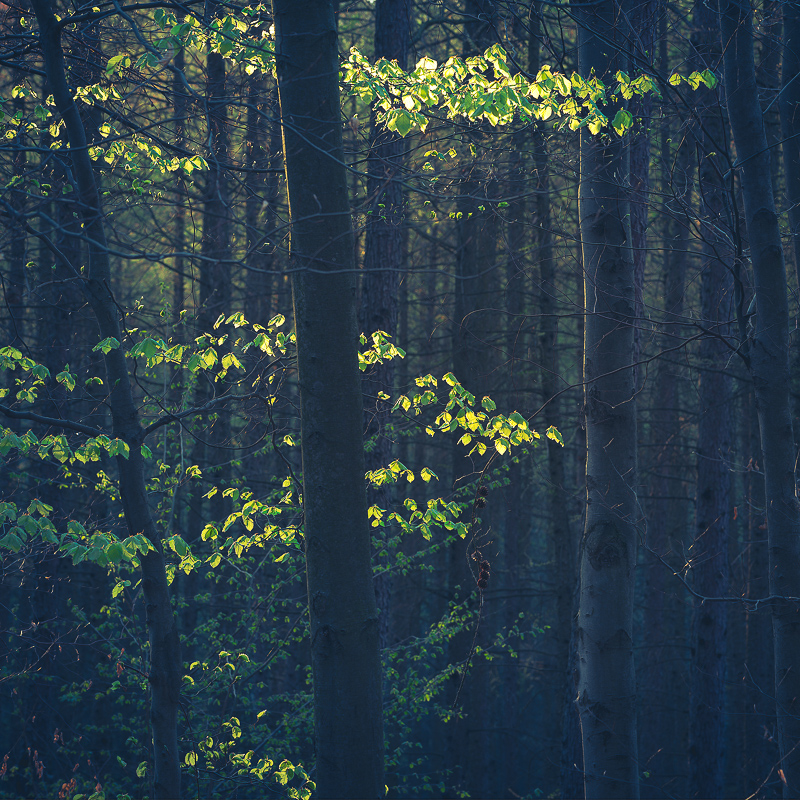
A word on foregrounds. Carefully consider what your foreground will be when taking that awesome shot. Your points of interest should be enhanced by what is behind it. Not only does this give your picture depth, it entertains the viewer by creating a nice juxtaposition between focal point and foreground. A great example of this is using a church spire poking up through a dramatic bank of trees along misty water. Your eye is immediately drawn to the spire. This is because it seems out of place with the nature shot, yet blends in perfectly with its surroundings.
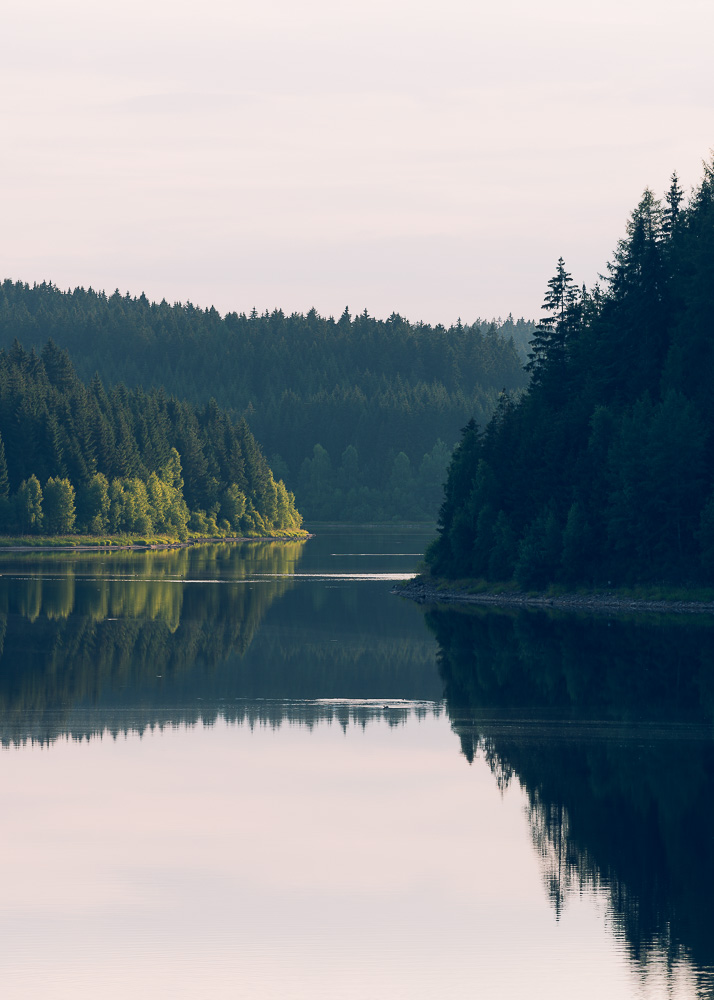
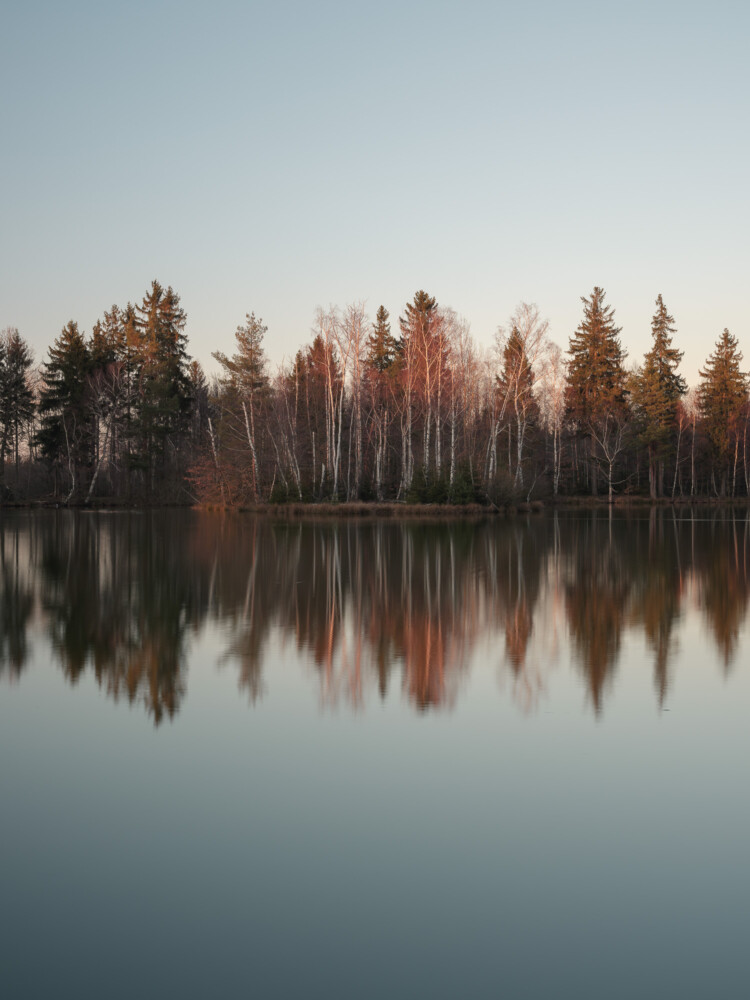
When you find still water as a foreground, it can enhance a shot ten-fold by offering a perfect reflection of whatever is above it. A mountain, birds flying overhead, a crop of uneven sycamore trees…the possibilities here can be endless. Using reflections give the shot incredible depth and texture.
Key Technical Issues
Using depth of field. For me, most of the times it is paramount to have everything in the shot in focus – background and foreground. For this, choose a small aperture setting – the smaller the aperture, the greater depth of field your shots will be. When everything in your composition is in infinity, f8 is mostly the best setting in order to maximize sharpness center to borders. I personally seldom go beyond f11 due to lens diffraction and a resulting inferior image quality. Smaller aperture means less light ends up in the photo, so lengthen your shutter speed and/or increase your ISO. However, I recommend always shooting at your base ISO aiming to maximize both image quality and dynamic range. Only in cases where camera shake might be a limiting factor, increase your ISO. Experiment with different apertures and see what results you get.
A tripod is your best friend. When using a small aperture, you will want to keep your camera as still as possible. While most people have a hard time with this, it is essential that you get a sturdy tripod to help you with your landscape photography adventures. 95% of my shots are done using a tripod. I recommend the outstanding carbon fiber tripods made by Gitzo. Moreover, for extra stillness, consider getting a wireless or analog shutter release. Furthermore, I always shoot mirror up helping to further minimize camera/mirror shake.
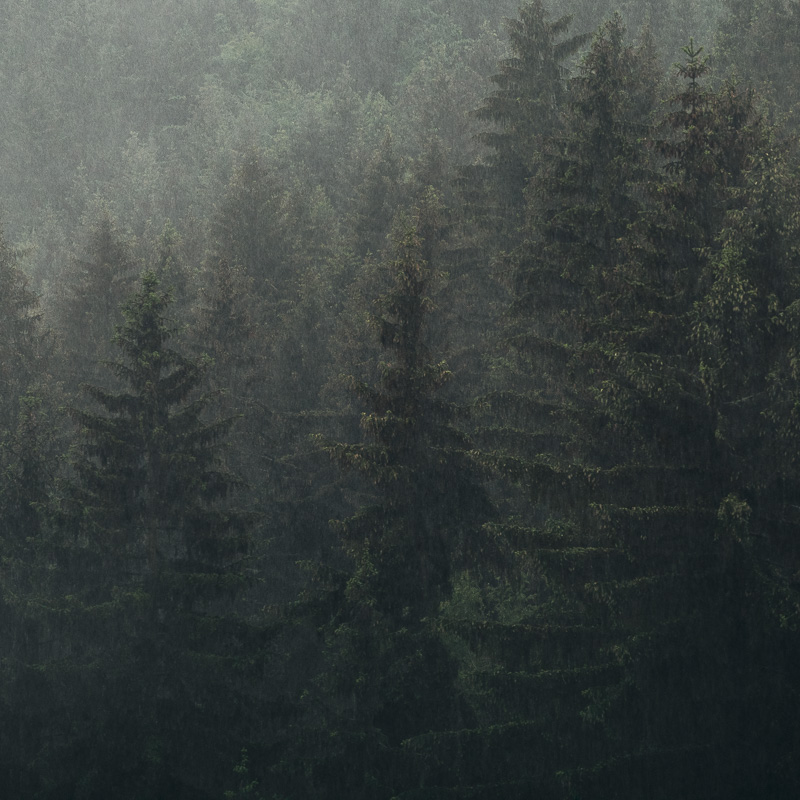
What do you think of when considering nature photography? Most people envision a wide-open expanse of stillness, but this is only sometimes the case. Capturing movement can be an art unto itself. Strong winds through trees, rolling rapid waters, a team of horses running through a meadow, or an overcast sky. Using a longer shutter speed and a smaller aperture (to restrict the light) will capture movement nicely. This allows your audience to get a genuine feel for the real thing. Neutral density filters are a great tool in that respect. Therefore, long exposure photography is a viable technique to add interest to the scene at hand.
Environmental Dynamics in Nature Photography
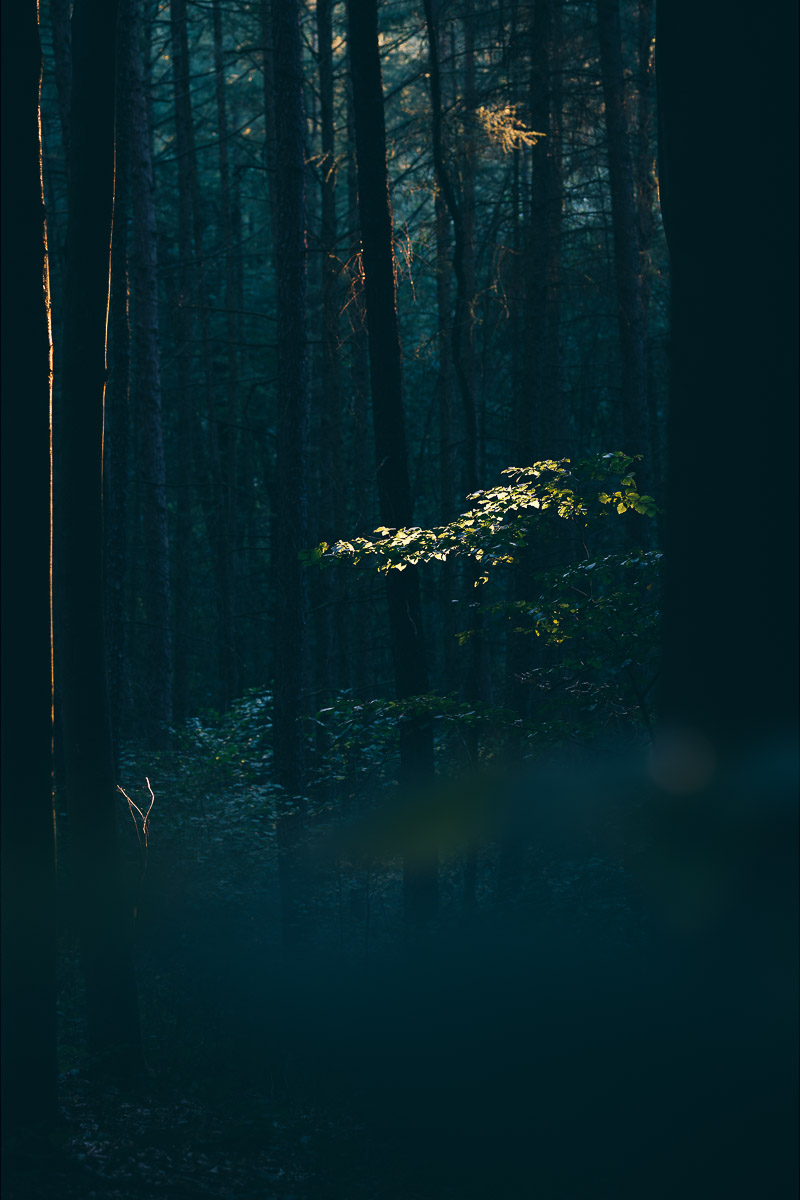
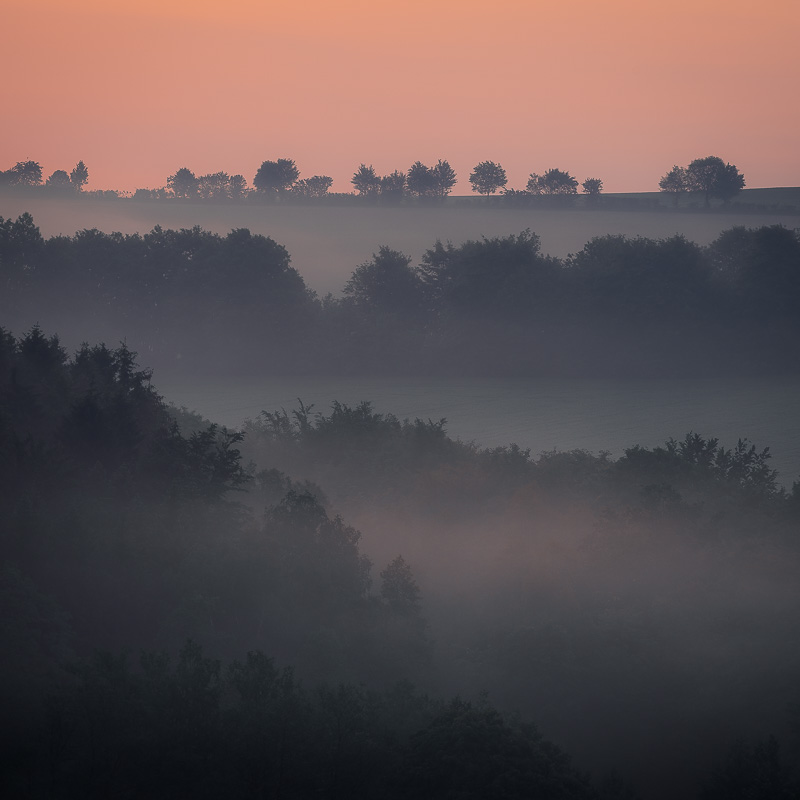
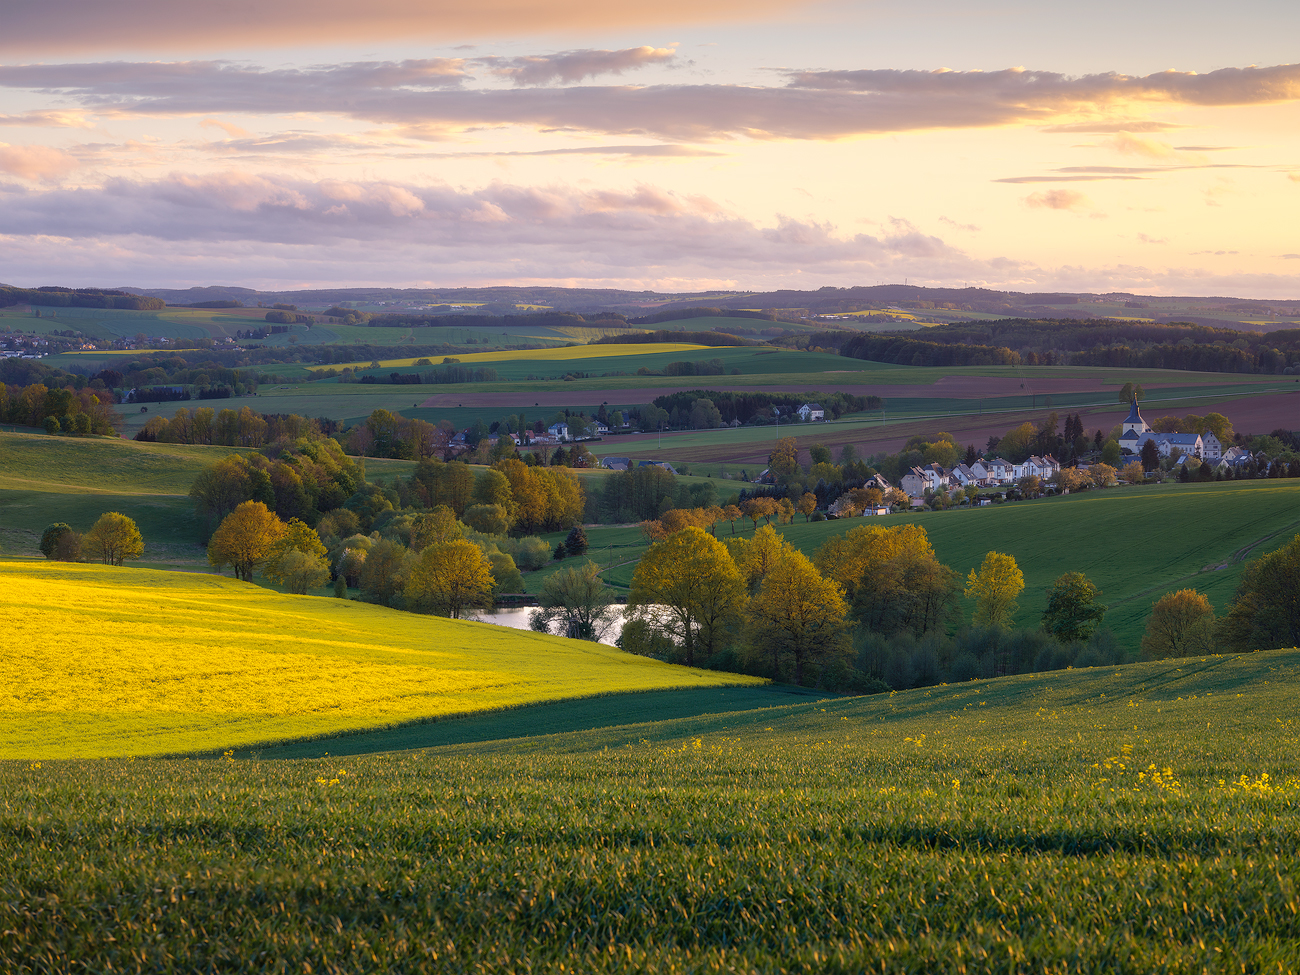
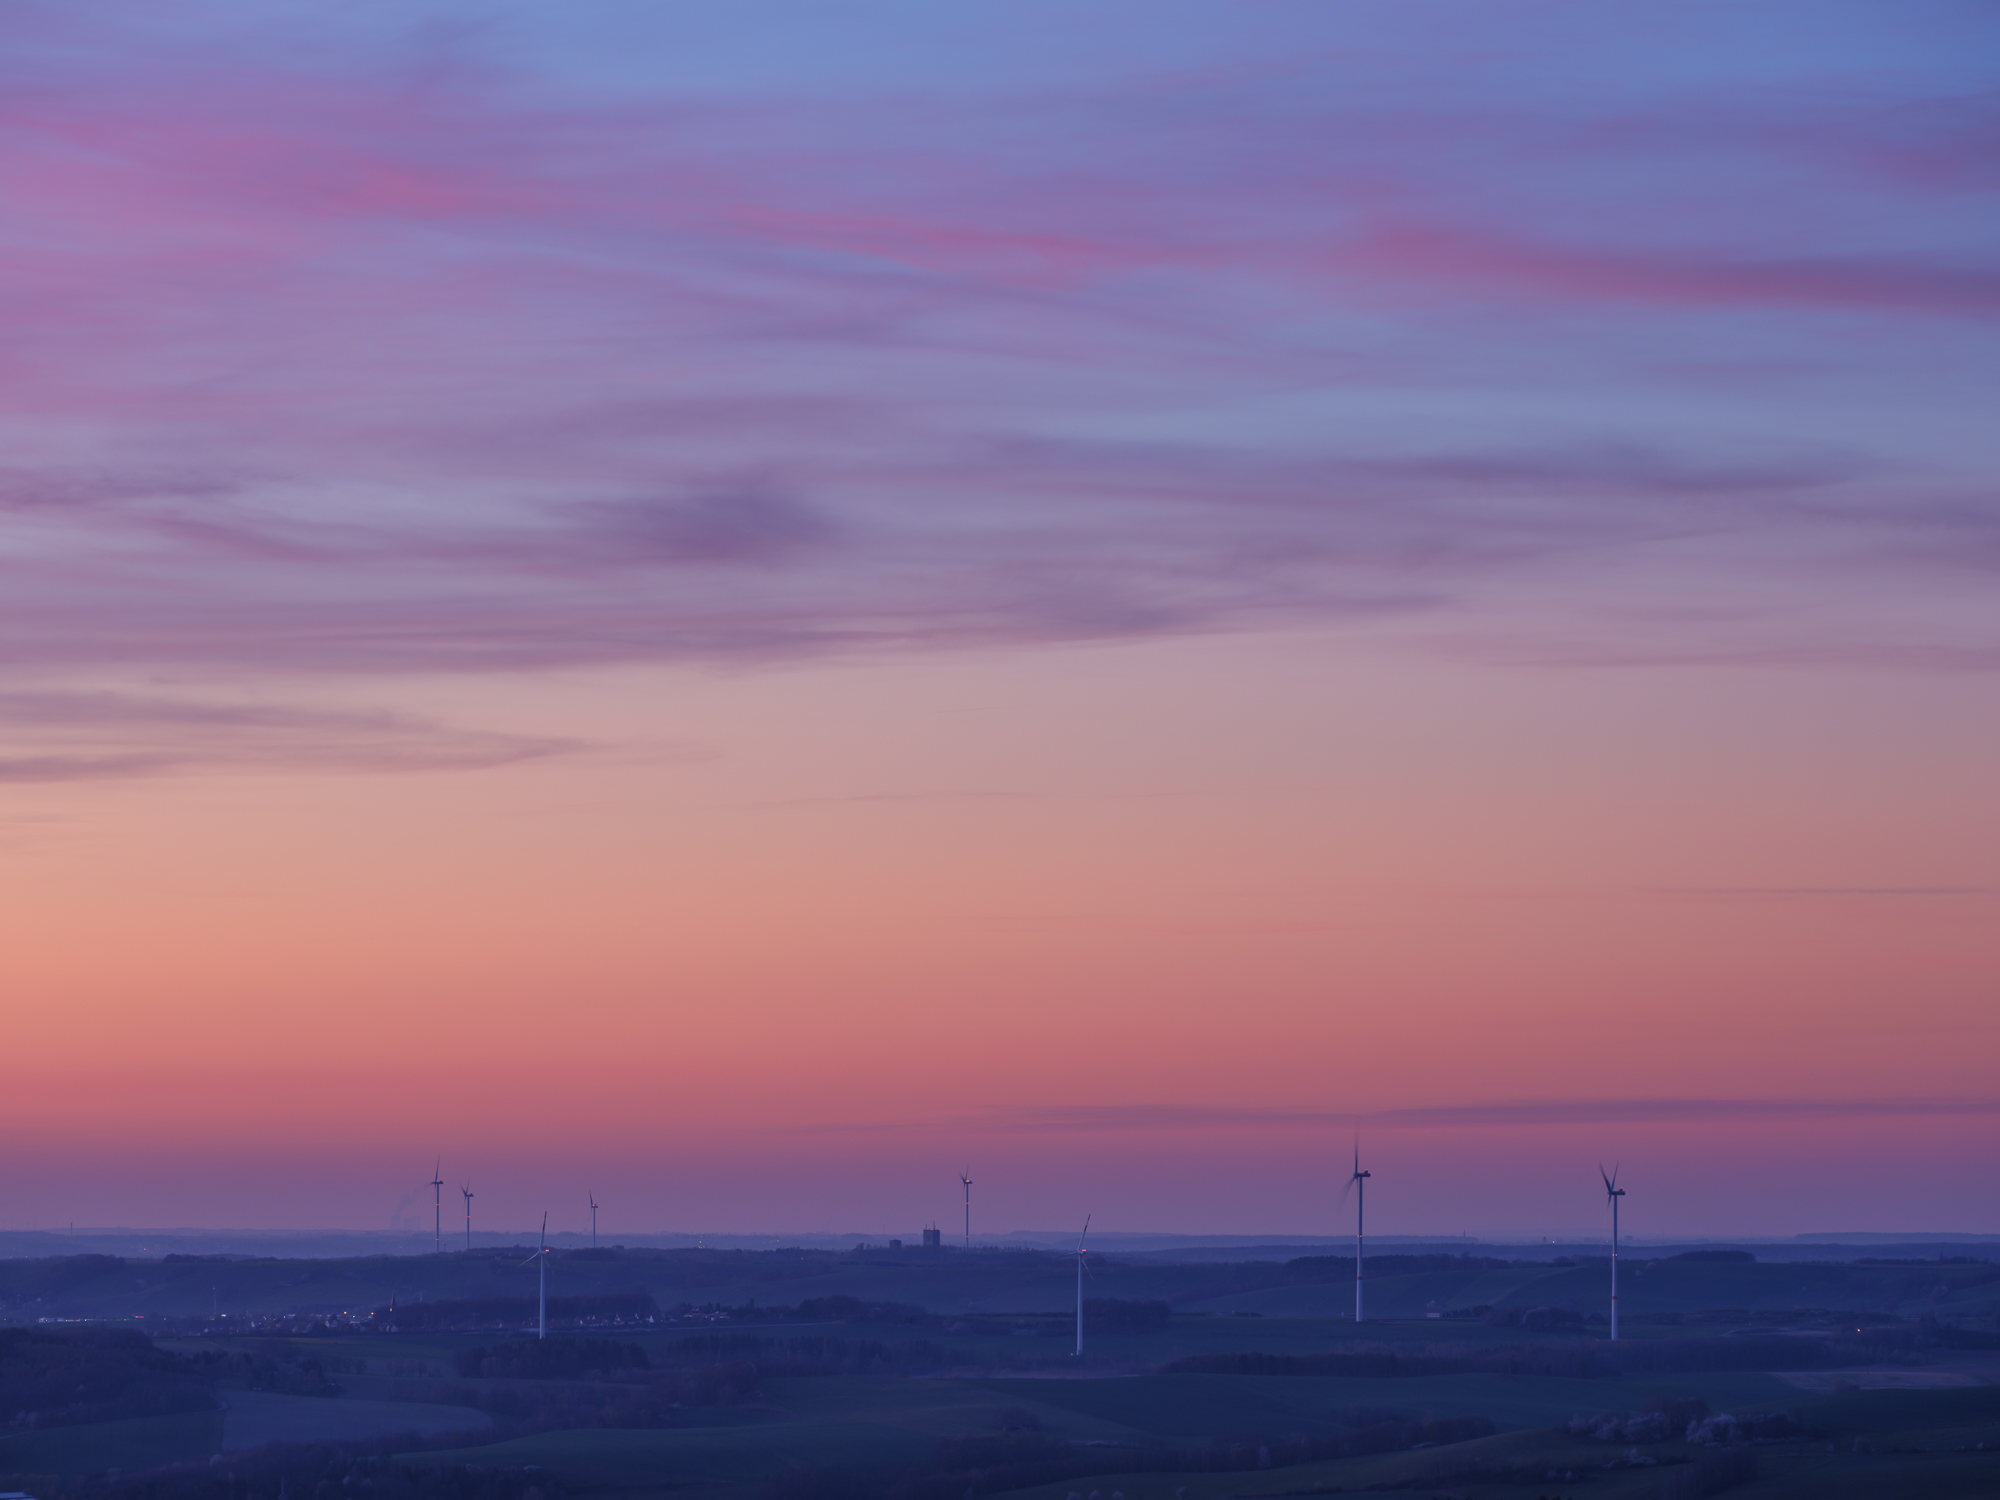
Golden Hours – they are a nature photographer’s holy grail. These two magical times of day right around dawn and dusk offer unparalleled natural lighting opportunities you simply cannot achieve any other time of day, or even in post-production. This is when the sun truly gives us golden light. Landscapes come alive during these times, where the angle of the light can impact a scene and present some fascinating textures and dimensions. When clouds are overhead and it is misting – golden hour can be even more spectacular!
Use the weather! Amateur photographers will automatically assume that a sunny day is an opportune time to shoot. On the contrary, such bright light, especially at mid-day will tend to create problems such as blown-out shots that are way too bright. Using an overcast day will often result in more dramatic mood lighting. And if you can capture that elusive thunderstorm and are able to capture a lightning bolt on camera, then you will be a hit at parties. Opt for rays of sun through clouds or trees, rainbows and of course, sunrises and sunsets! As I have written somewhere else, natural light is one of the critical factors in landscape photography.
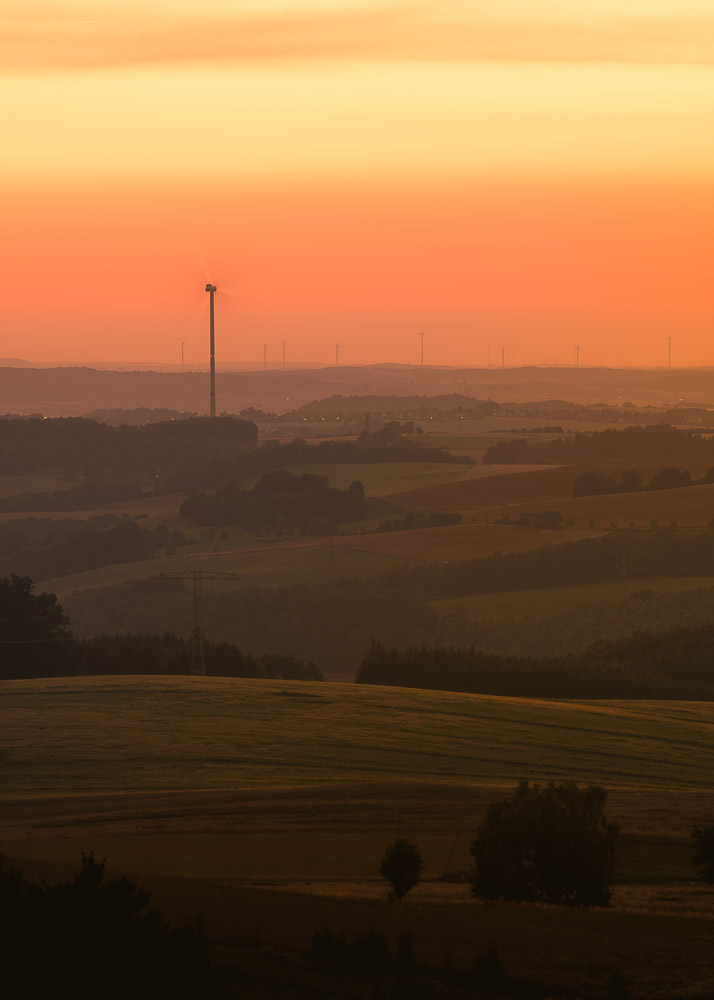
Use sky and the reflective properties of water to your advantage. If the sky is boring (i.e. no interesting lighting or clouds) it shouldn’t dominate the shot. Instead, put the horizon in the upper third of your shot (again, using the rule of thirds). When this is the case, make sure you have an interesting foreground, or at least a spectacular focal point. Conversely, when the sky is doing its spectacular thing in the way of interesting cloud formations or fascinating lighting, place the horizon lower.
Take the time to experiment with different angles and regard environmental dynamics as key opportunity in nature photography. Crouch down ground level and shoot up. Or climb that steep hill for an even more dramatic, sweeping vista photograph to achieve that ‘Wow’ shot few others dare to achieve. In any case, photography in the outdoors is simply a great adventure.


7 Responses